
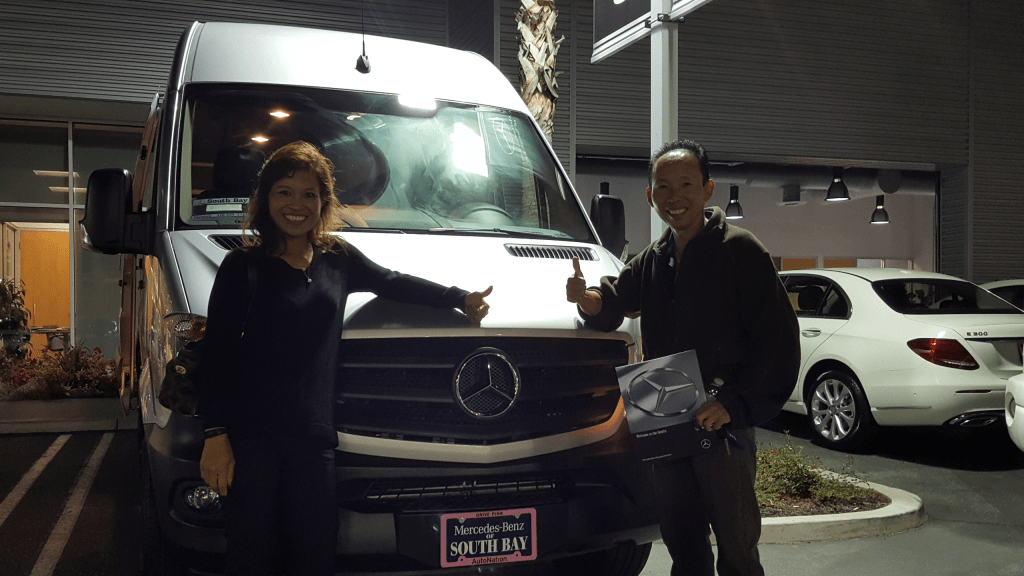
Our first try. I kind of have ideas planned in my head but my wife doesn’t. All she knew was that I’m building a bed and a shower in the van. I was so anxious to build it I started to tear down the ceiling panels the next day when we brought the van home. When my wife got home from work she freaked out. “Oh shoot honey the insurance haven’t seen the van and we’re not 100% sure that the loan went through yet!” Her reaction. That same day the dealership called. They told her that the bank accepted our loan and even offer a better rate. WEW!! Exciting.
The next 60 days….I went at it.

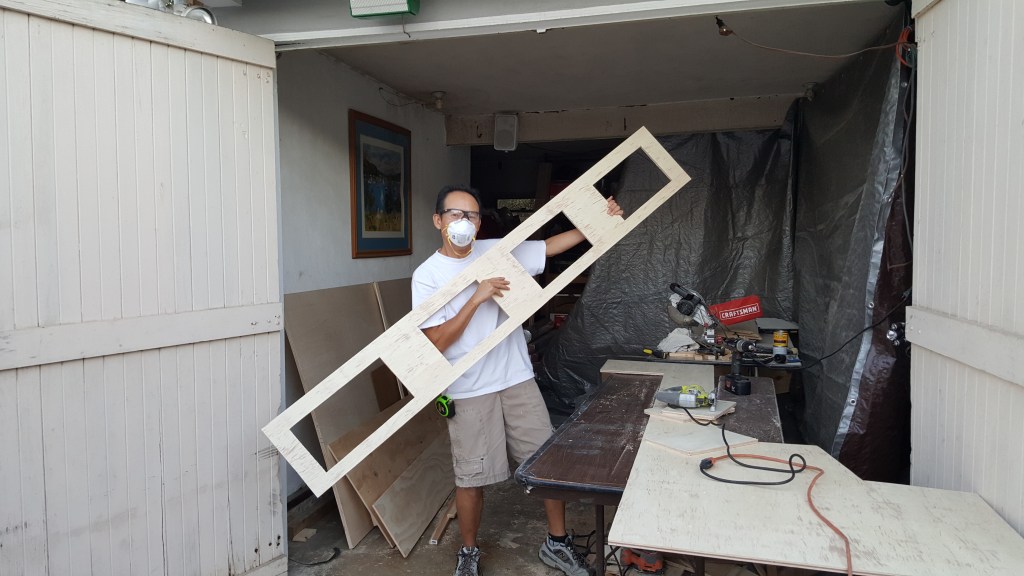


- After 26 trips to the Home Depot and hours of watching YouTube videos finally everything comes together. The van was completed and ready for the road test. We only stained the woods with Summer Oak color because we wanted it to see the natural wood look and feel like a cabin.
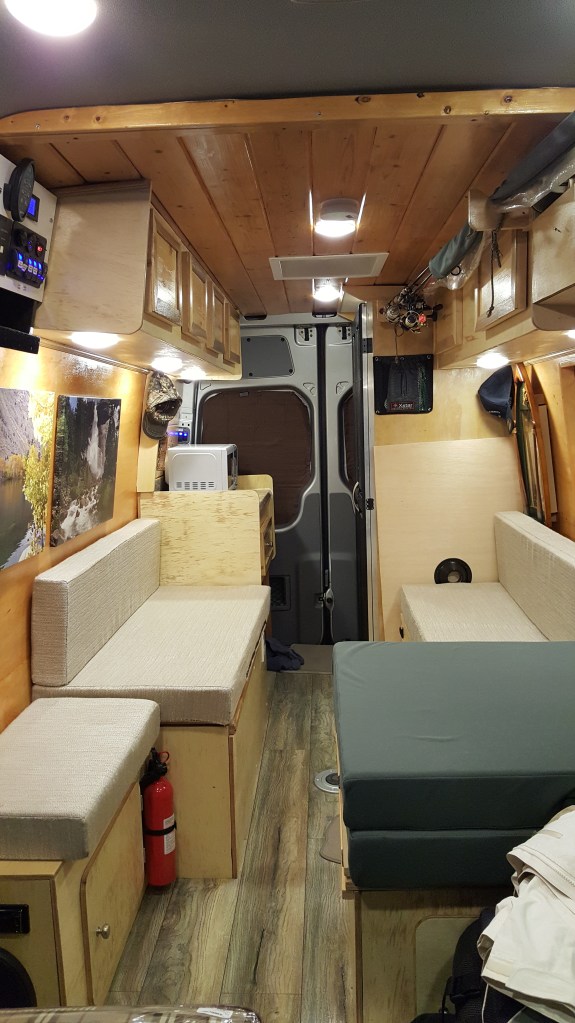
convertible bed 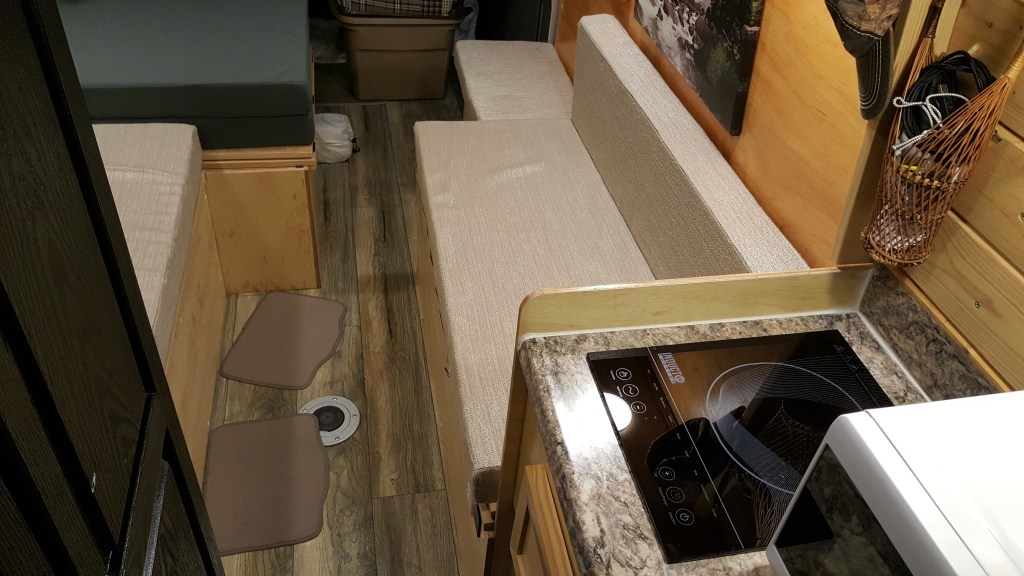
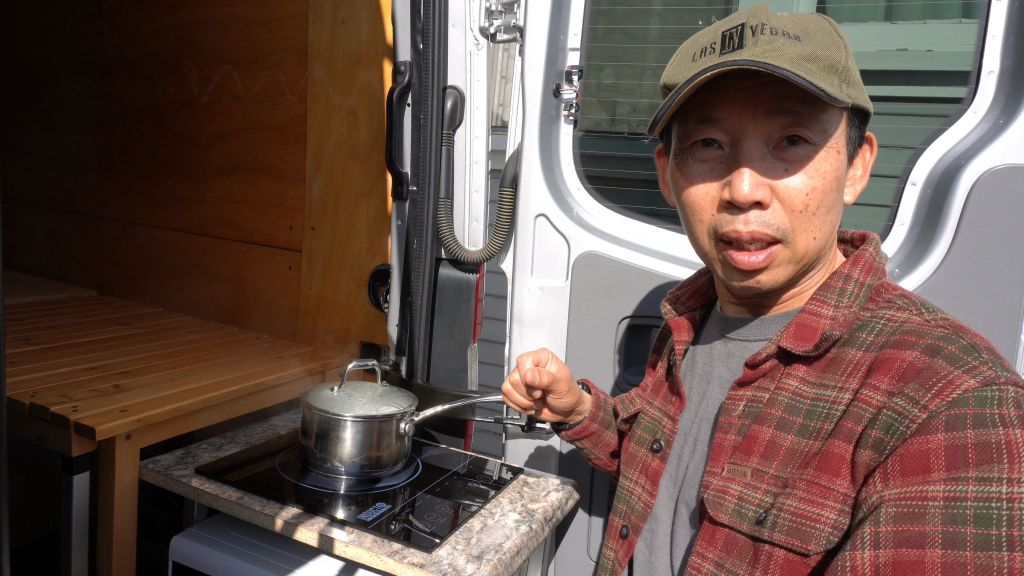
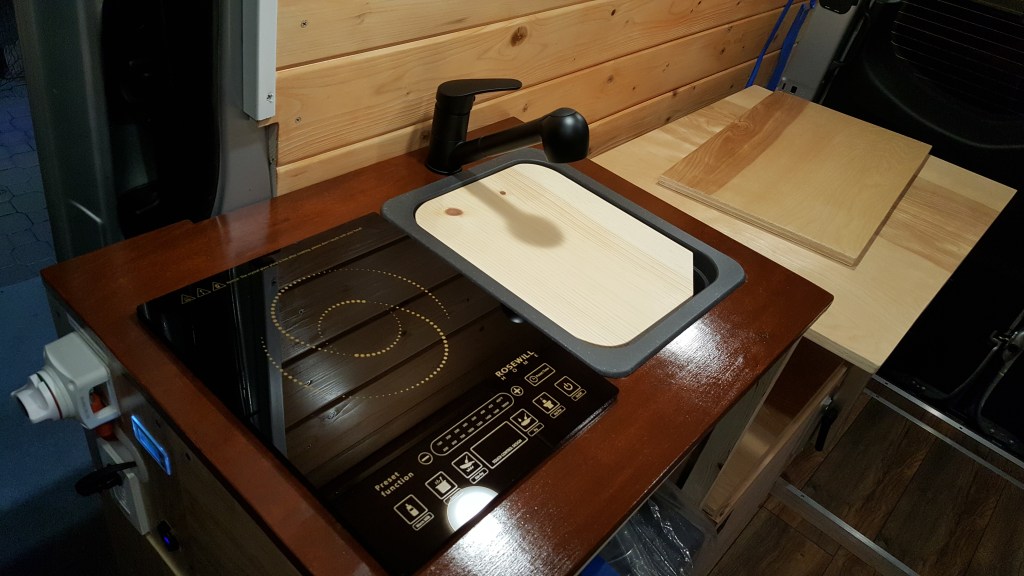
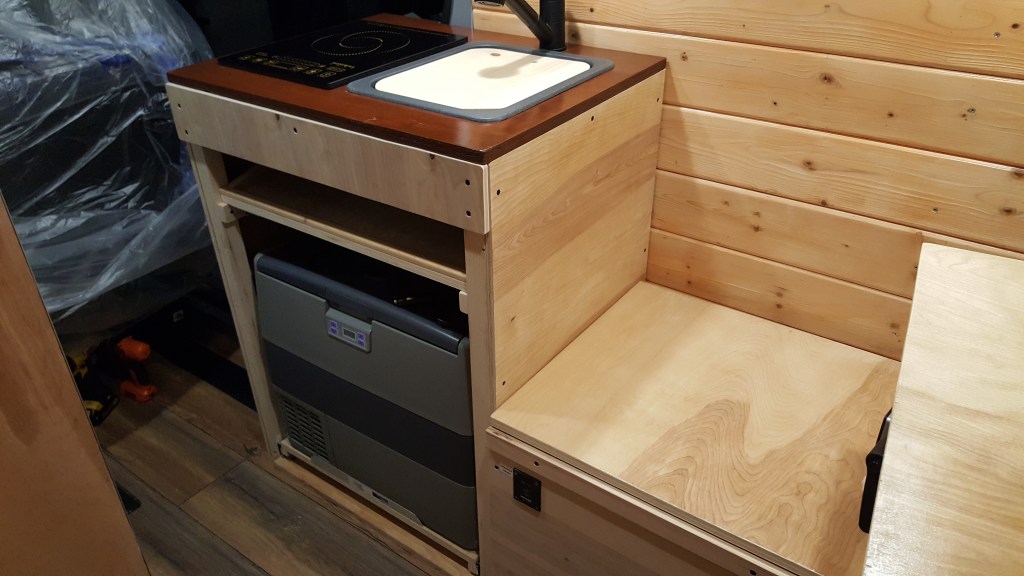
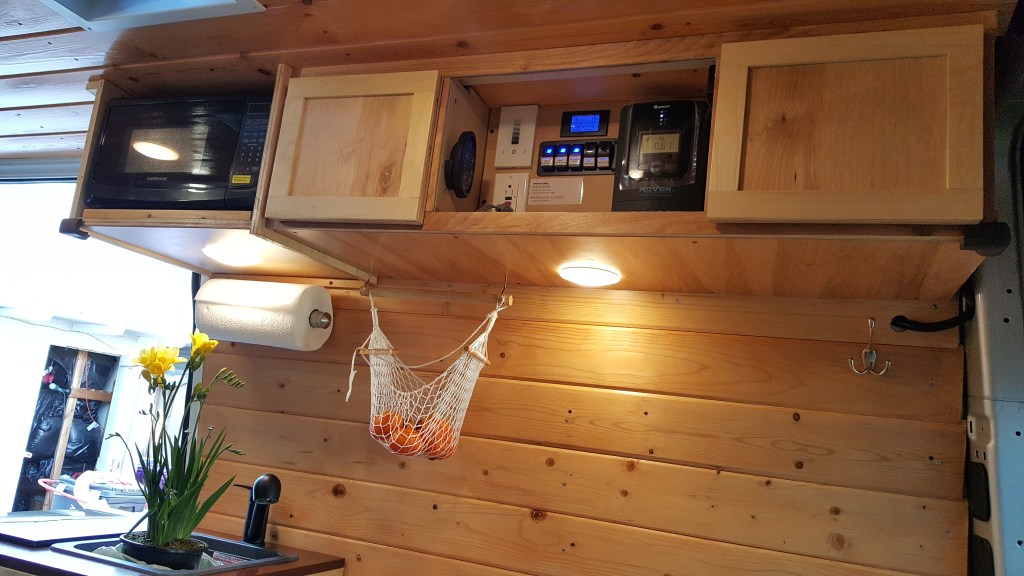
electric cooktop and microwave 
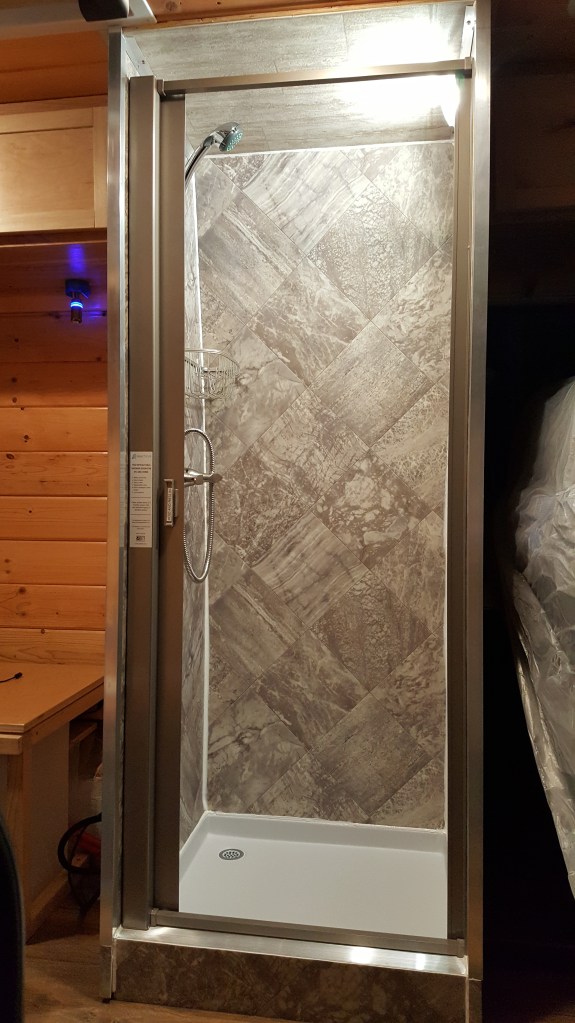
A shower room 
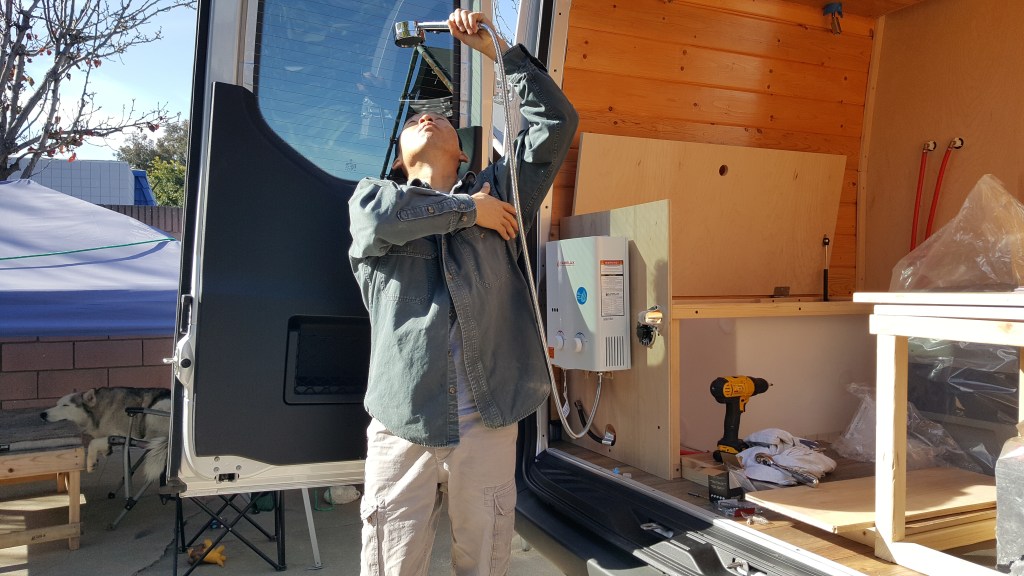
Tankless ventfree instant hot water heater 
That was my original layout. After many trips I wanted to make it more efficient so I reconfigured a bit. I want to be able to sit in the back to enjoy the view but my stove/microwave were in the way so I moved them to make a slide out and turn that area to a convertible bench seat. A few more things I added such as a swivel table at the sliding door, widen the walk through, a fridge , LED strip lights and 2x more solar panels.
slide out stove and microwave 
wider walk through with swivel table 
Swivel table at siding door 
bigger convertible bed 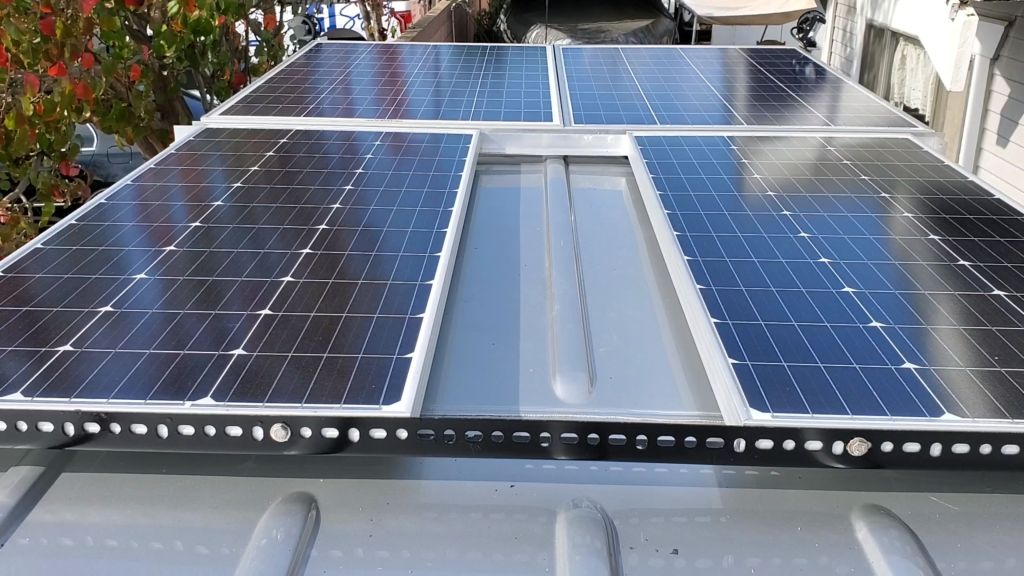
additional solar panels
For now I’m done and satisfy with my first experience. Everything is functional. My wife is very happy and amazed.
My advice, if you want to try to build your own van, go for it. But plan ahead what you want in it and how you like the layout to be. Nothing is going to come out perfect for the first time at least for me but hey if you don’t explore you’re not going to learn. At the end of the day you’ll be proud of yourself and be able to tell others that YOU did it.
Fast forward a year…this is my third one to be built but with the help from my uncle and aunty did the cooking to feed us during the construction.

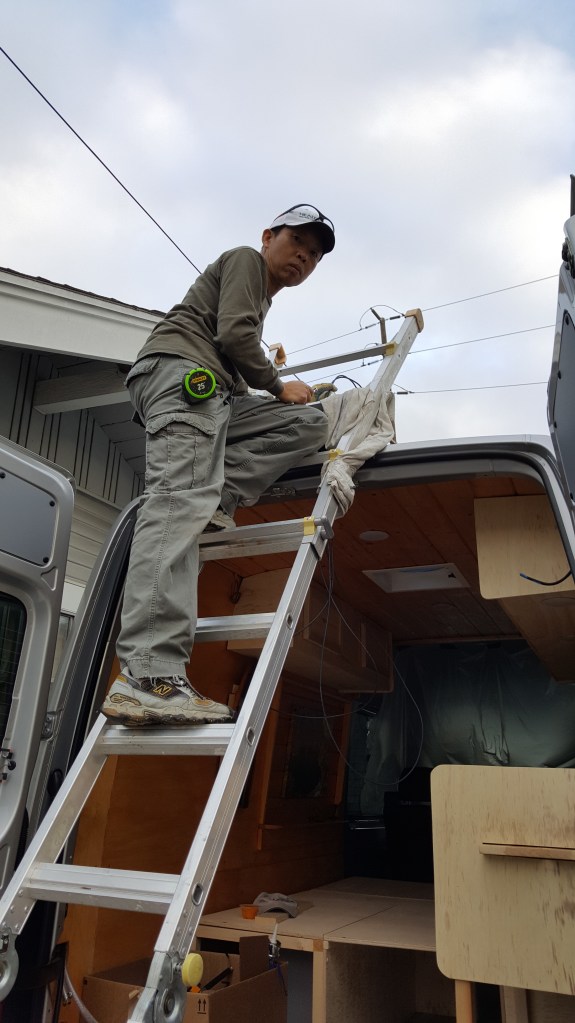
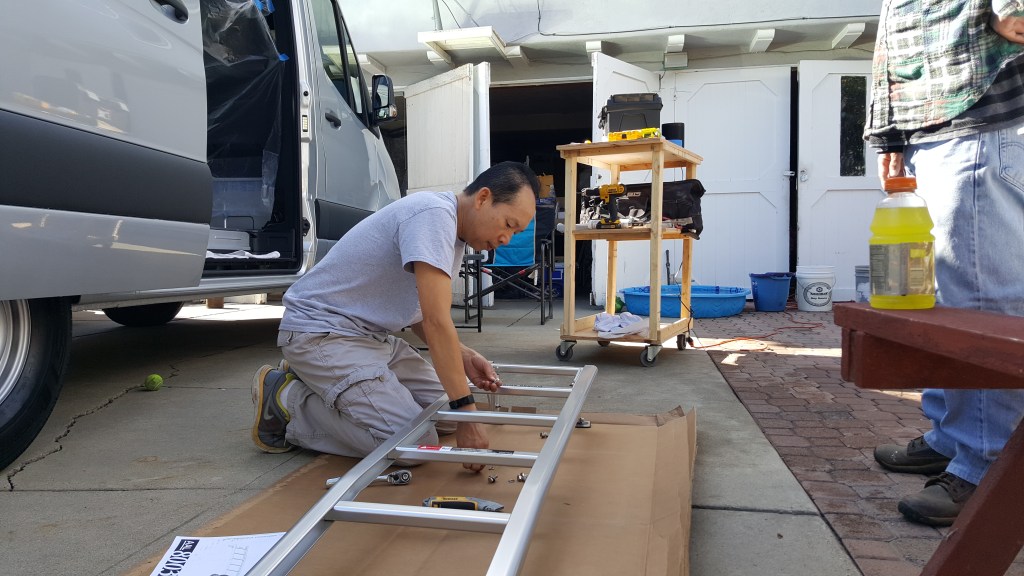
since I have a bit of experience now I wasted no time. In a week most of the parts arrive to fill the living room that make grandma wonders what’s going on. We started with an upgraded ladder. This is strong aluminium, adjustable and no drilling ladder. I really like it.
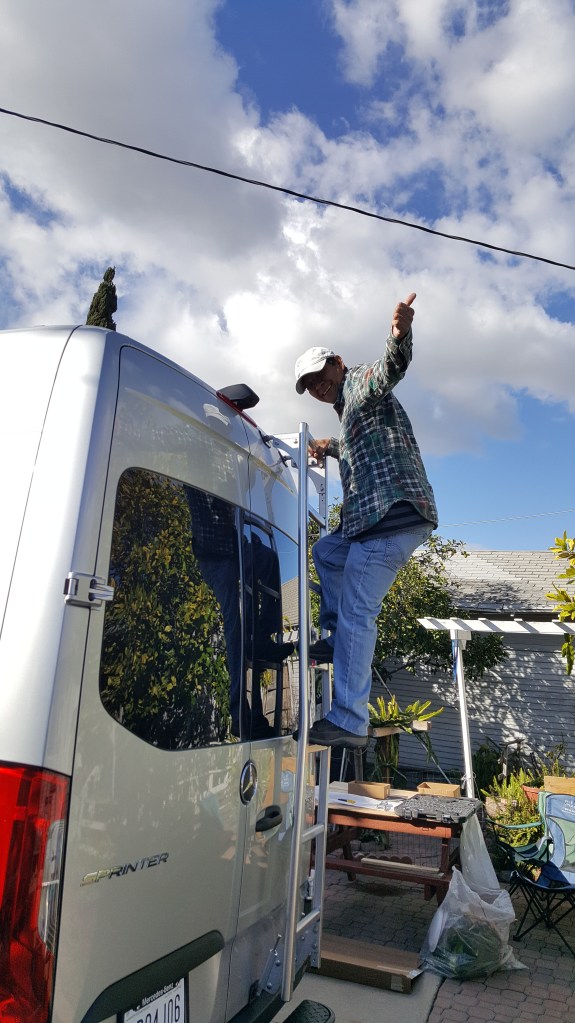
Uncle was too excited to see the ladder on the van. He tested the strength. And gave me a thumbs up.
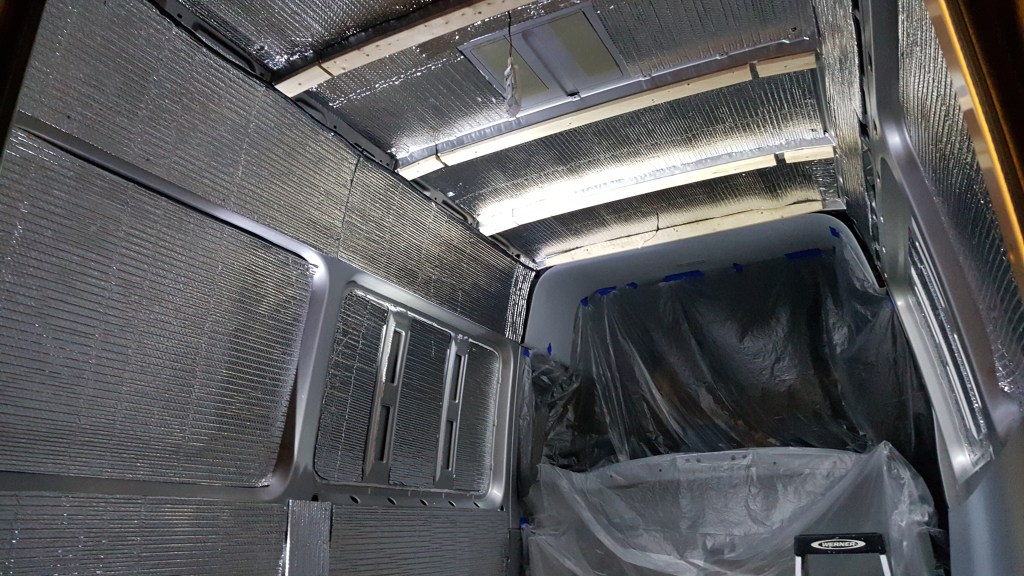
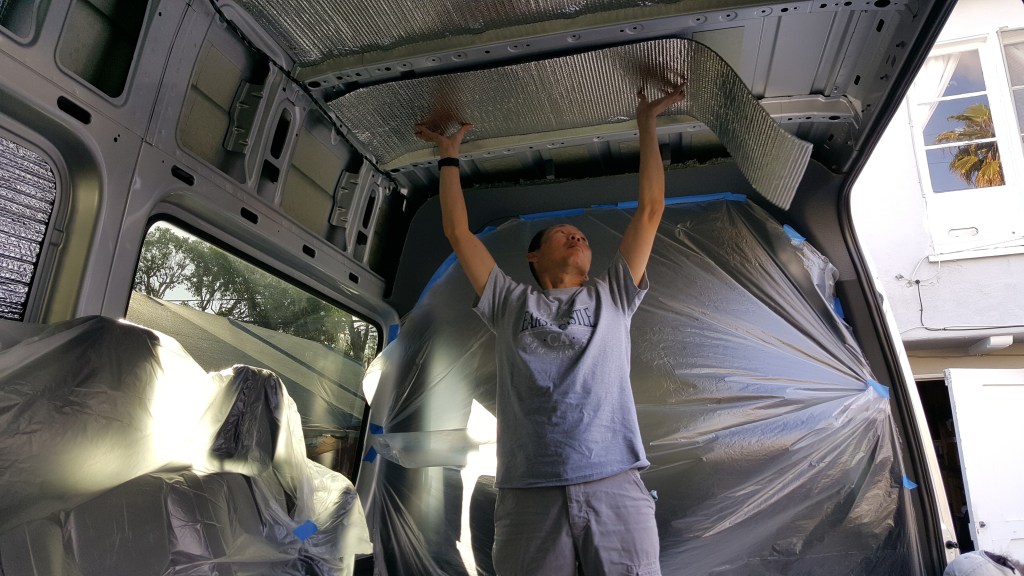
Next is the Reflectix insulation. This is found at The Home Depot or any home improvement store. It’s the same thing used in residential home. It’s easy to cut and glue on. You can use any industrial strength all weather glue. We use Gurilla brand.


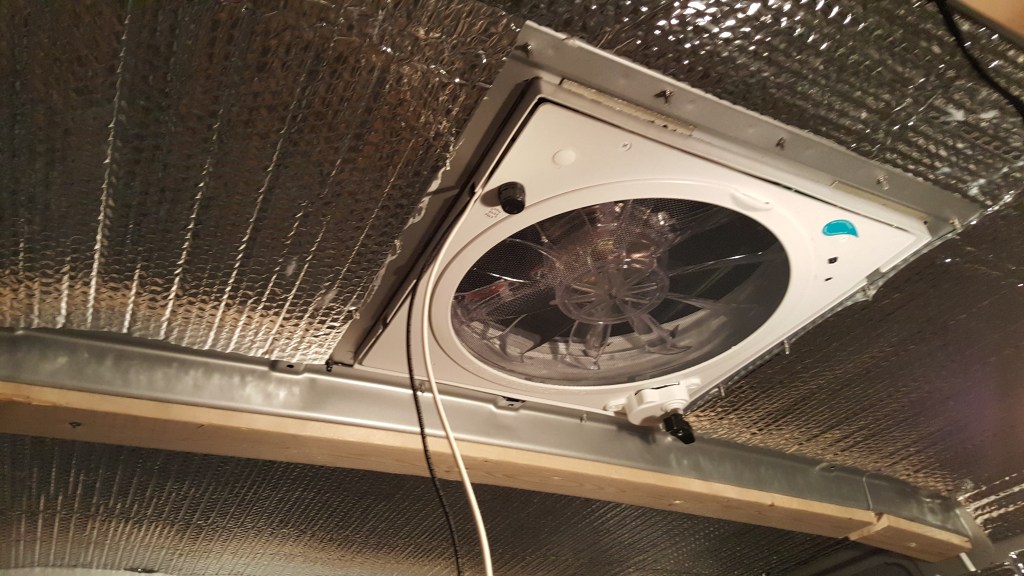
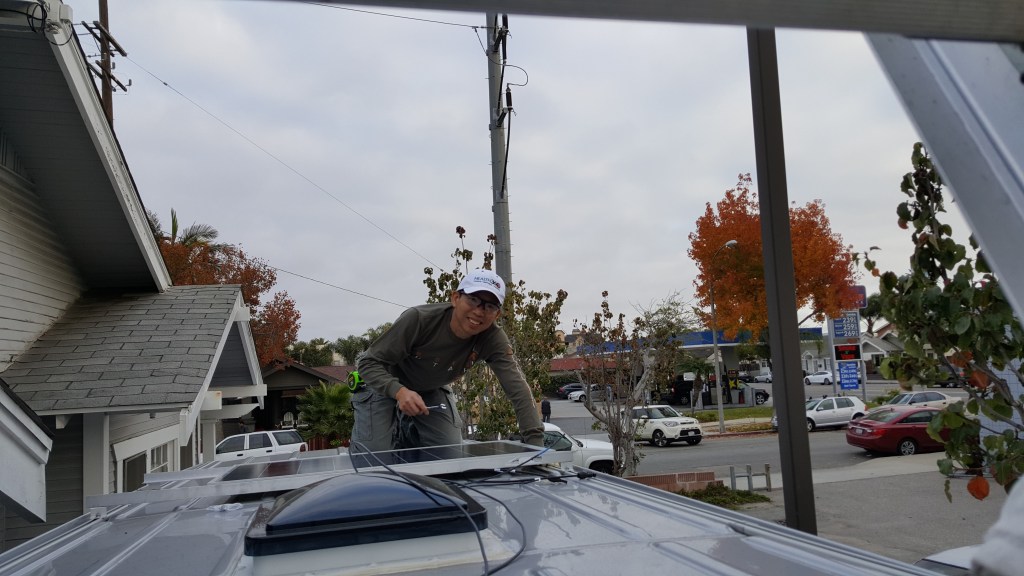
next before we cover the walls up we run all the wires, install the fan and the solar panels so you can rout the cables inside the wall.

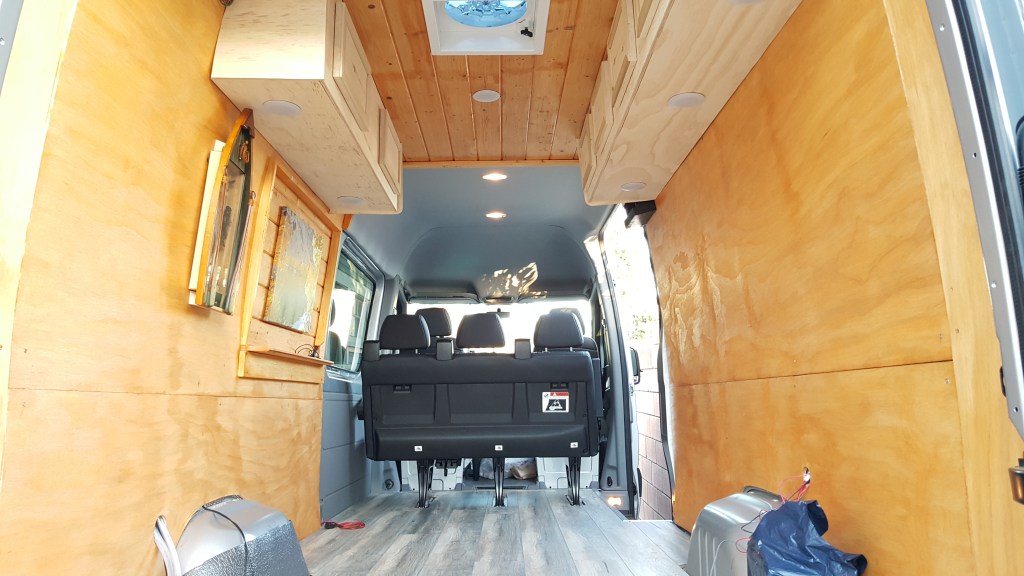
For ceiling and walls we use 5″ Burch tongue and groove screw in to the wooden frame.


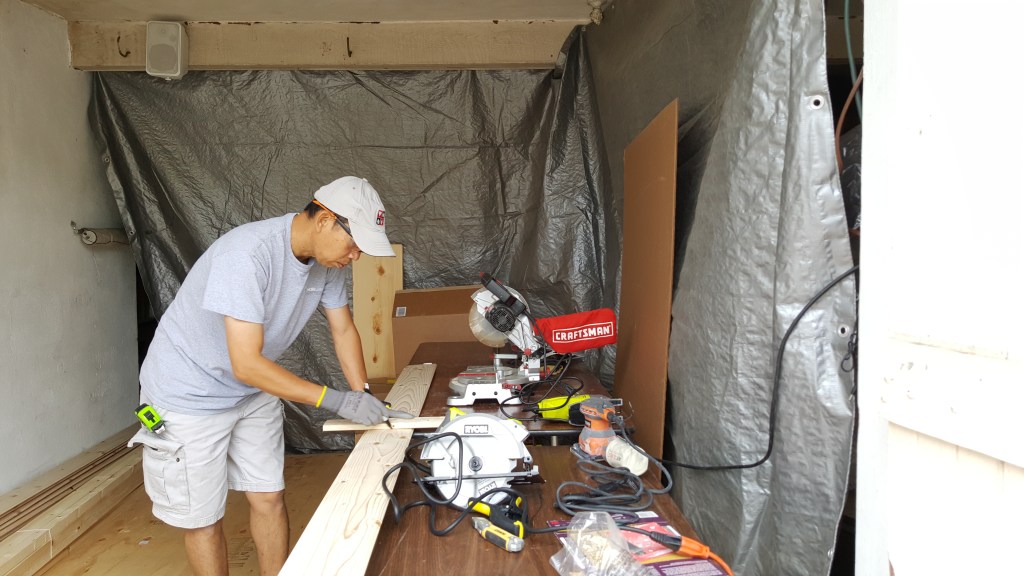
Then hardwood floor. Every piece all around is cut to fit.


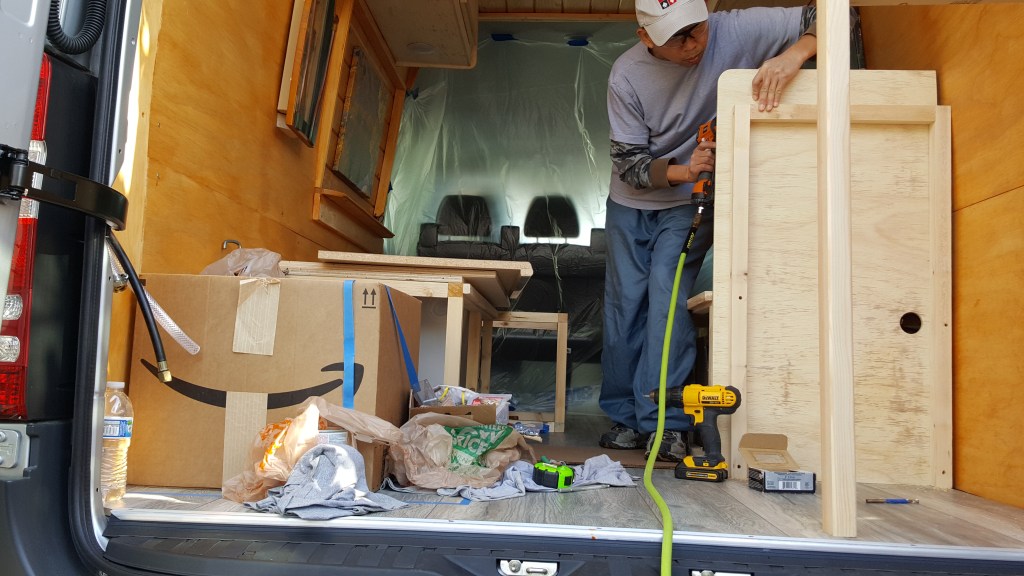
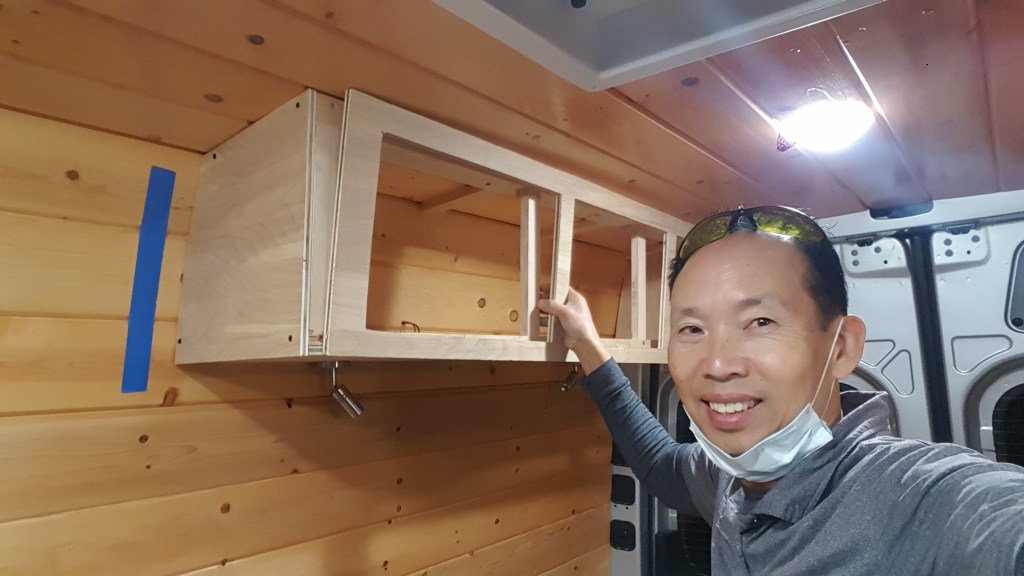
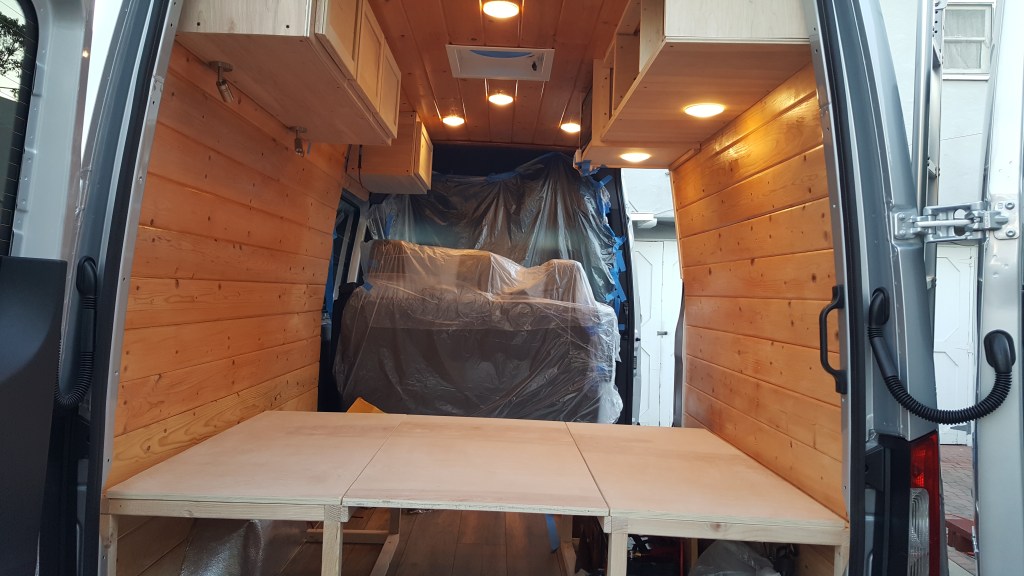
Now that we have the interior boarded up. We can focus on one at a time.
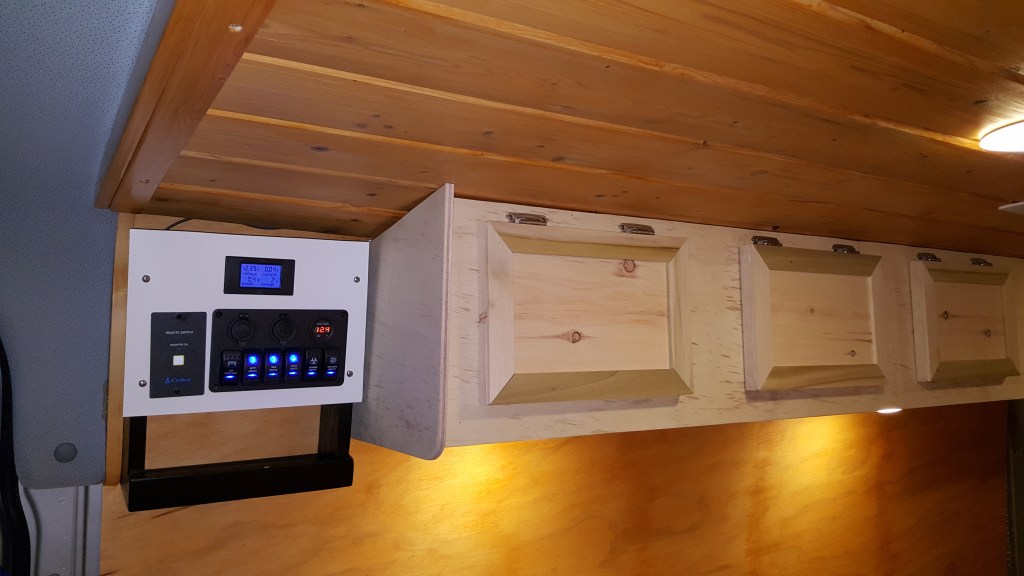
Electrical

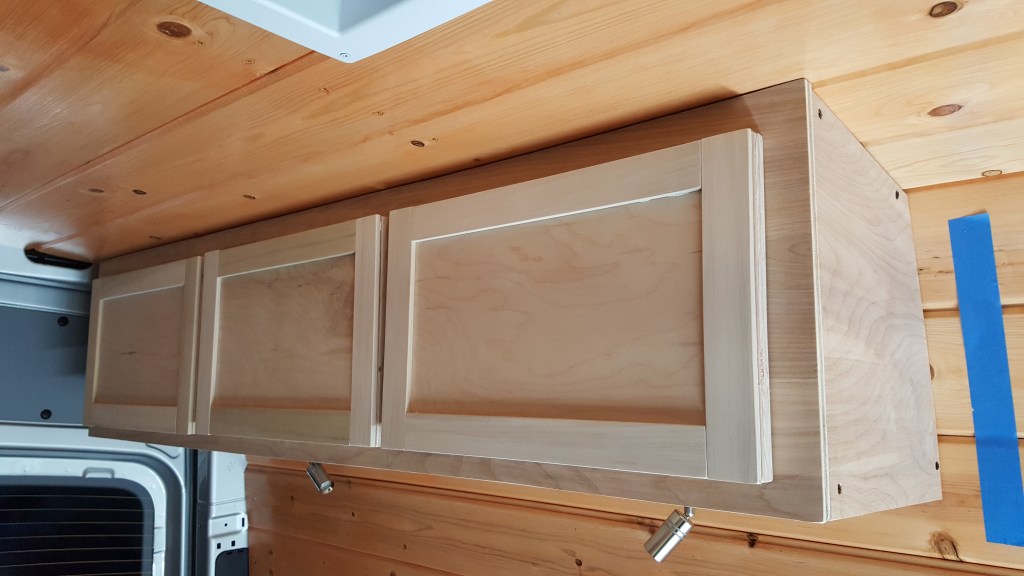
Cabinetry


Bed frame

57″ withght x 72″ 
shower room. We use 3/4″ plywood with L shape aluminium ankle to secure top/bottom and front edges. For the walls it’s 1/8 inch thick vinyl glued to the board. Then caulk all joints. Make sure it’s an inch overlapping the shower pan flanges. This method works just fine for us. It’s simple. The shower door is custom order. Link to the shower door is below.
Nautilus RV Retractable Shower Door – Stoett Industries https://www.stoett.com/nautilus/

we’re almost done ! Now add instant hot water heater with external shower head for wash off.
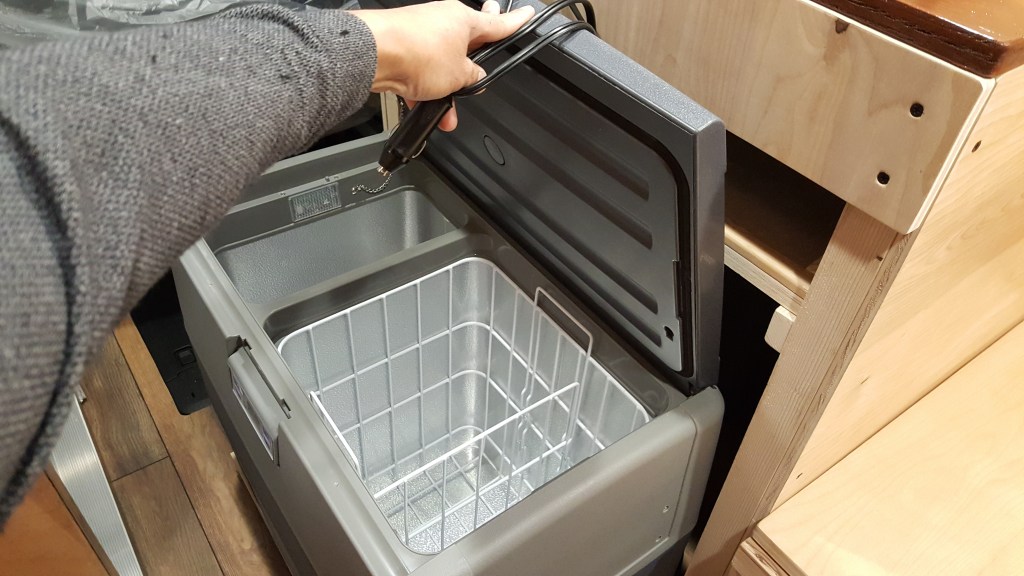
Sink , stove and fridge/freezer


main power shut off
Oh yeah don’t forget the swivel table. And uncle is anxious to test it out with a nice dinner as well.


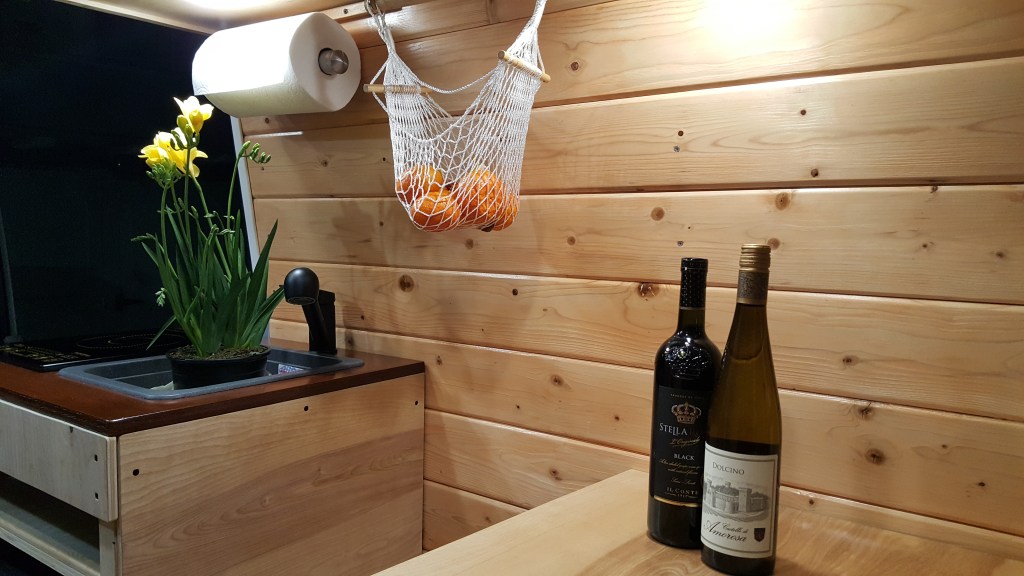
now just need the cushions and decor..


Before

After
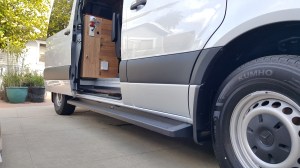
Adding running board then grey water tank
And then roof rack

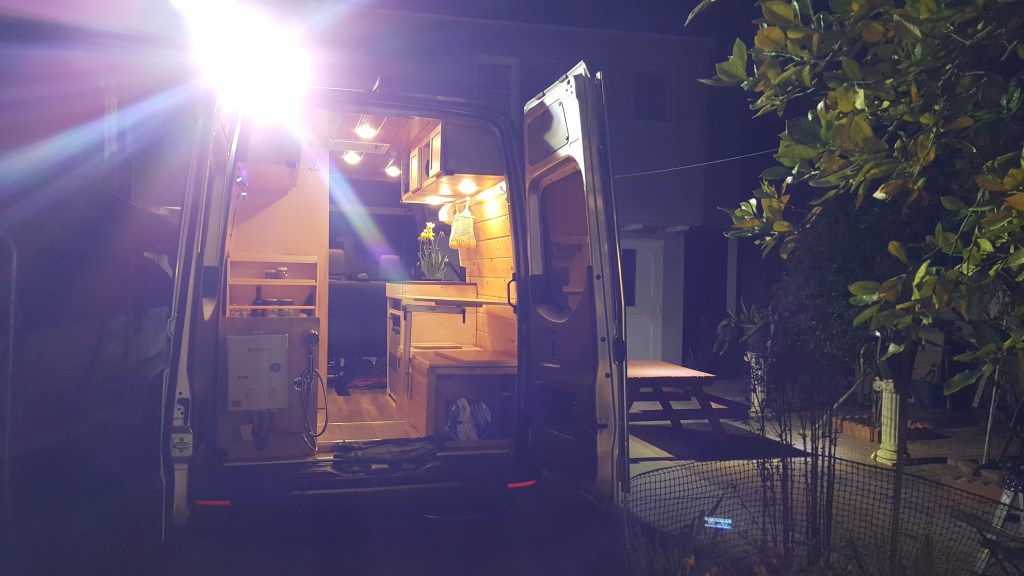
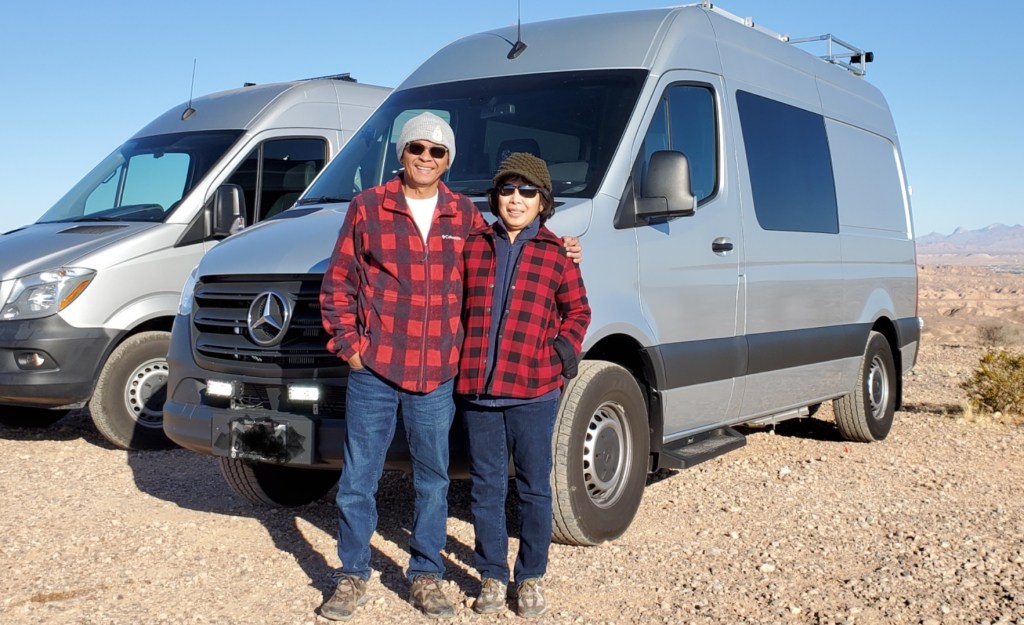
Happy Campers
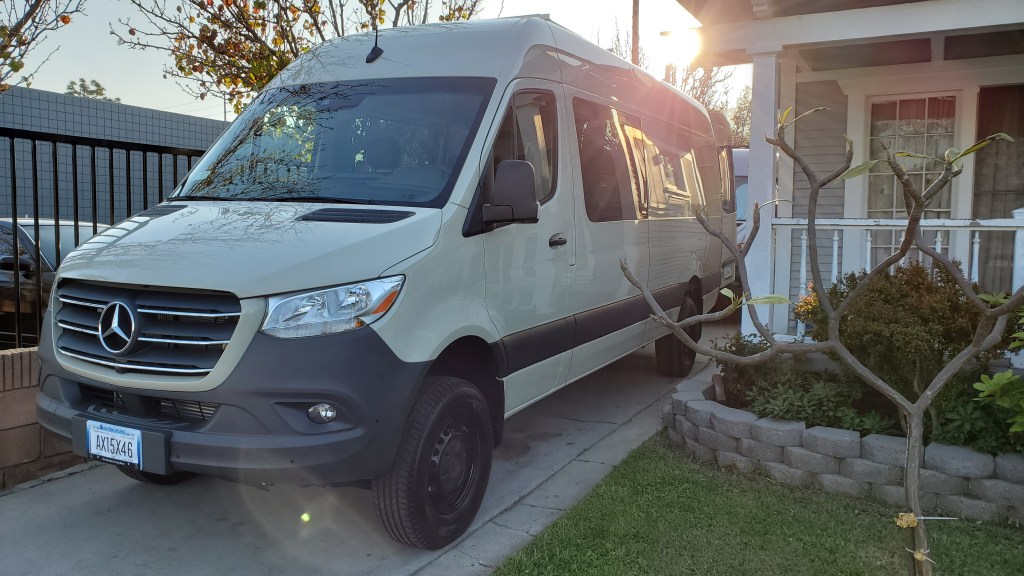
Another campervan is under construction! Mercedes Sprinter
Year=2020, model= 170 WB, 4 x 4
Here is the latest on this build. First we started with the solar panels. There are 4x of 100WATT panels making it total of 400 watts charging rate. We are using 5/16 thickness 90 degree ankle aluminum. I drill two holes on two side to insert 1″ x 1/4 stainless steel bold and the Z brackets attach to the railing.

next is the insulation. We use Reflectix from the Home Depot with Gorillas glue.

we installed the two swivel seat attachments. The are found on eBay and the work just fine.https://www.ebay.com/itm/Sprinter-seat-swivel-For-2007-2018year-Sprinter-Swivel-Rv-Swivel/223937555112?hash=item3423b7eaa8:g:JnsAAOSw~VBcQKWA
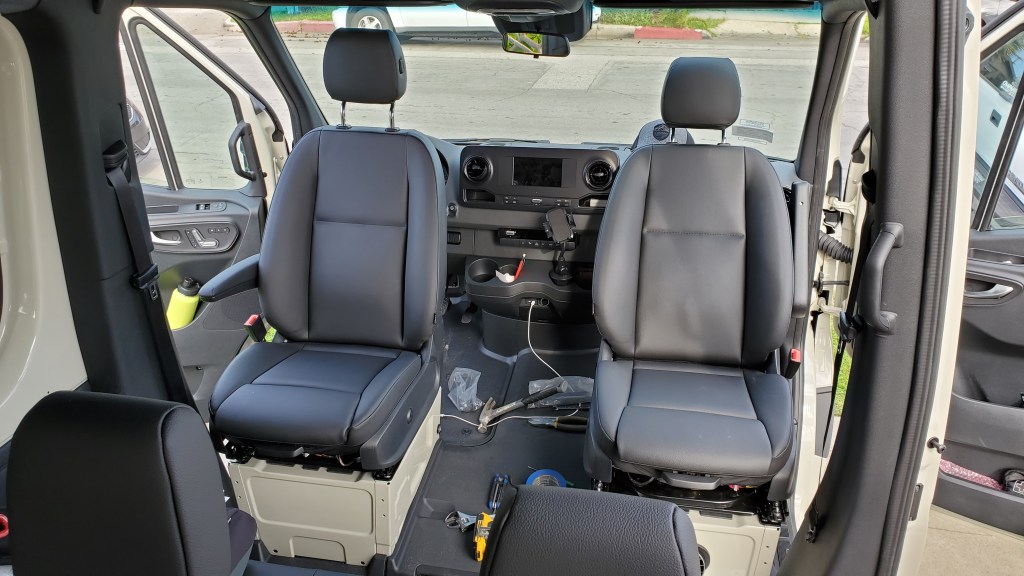
while we took off the seat for the attachment mind as well install the heater so we don’t have to do it twice. We only installed the main unit but not the wire connection.


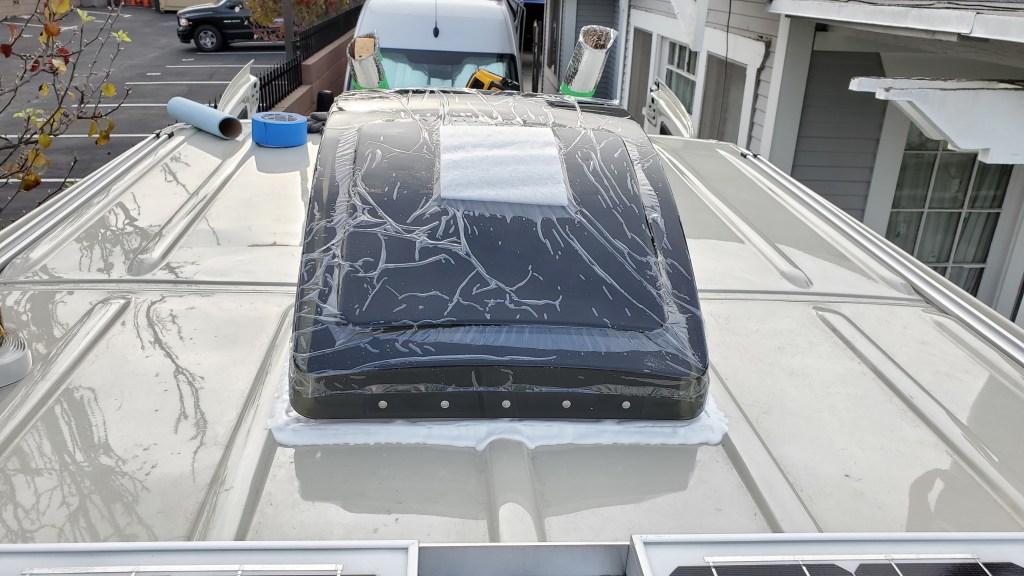
Finally we have a little break from the rain it gives us a chance to cut the hole in the roof for the vent. Measure twice cut once! locate where you want to install, mark the four corners and drill a hold in each corner from the inside up, then go to the top to draw lines to connect all four corners. Tape down with plastic sheets to collect all the metal debris then start cutting. File away all the sharp edges then spray pain to protect from rust. Use potty tape to level the opening and screw down the fan ring. Use self leveling sealant to seal all around the edges.


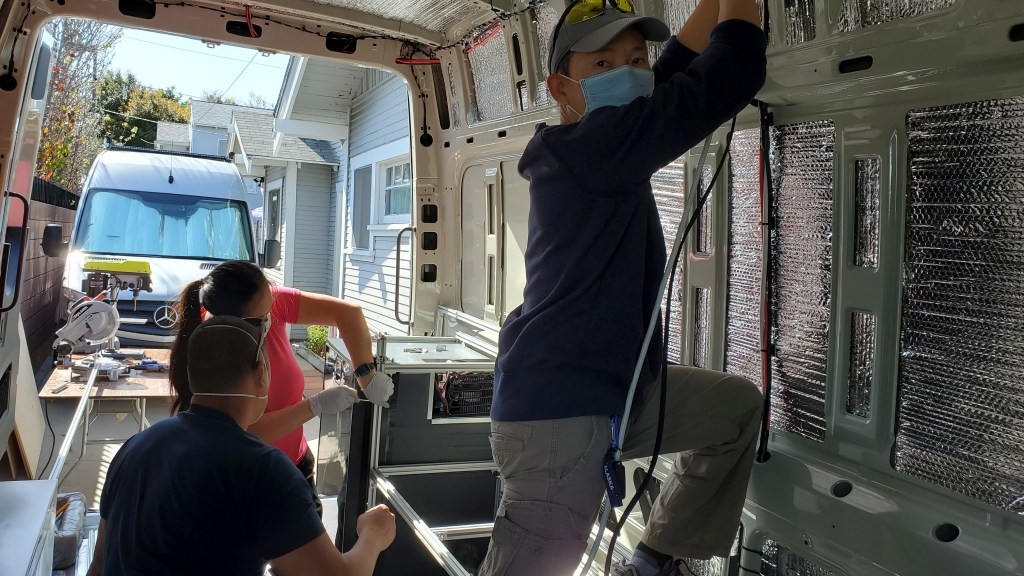
Next I focus on the electrical wiring inside while my partners focus on the 8020 aluminum framing.
now the solar is connected to the charge control and then to the batteries. The inverter is also connected to the batteries and so as the fridge. I also strap down the Batteries.


please stay tuned for more updates…..
